Every recording has those moments you wish you could erase — a long "umm," an awkward silence, a cough, a phone ringing in the background, or that time you completely lost your train of thought mid-sentence. The good news? Removing them is incredibly easy when you can see your audio as a waveform.
In this guide, you'll learn how to use the Cut tool in OnlineAudioEdit to surgically remove unwanted sections from any audio file — for free, in your browser, in less than a minute.
What Does "Cutting" Audio Mean?
When you cut a section of audio, you remove that part from the recording and the remaining pieces are automatically joined together. It's like cutting a sentence out of a paragraph — the words before and after flow together as if the removed sentence was never there.
This is different from trimming, which keeps only the selected region and removes everything else. If you want to extract a specific clip, check out our guide to trimming audio instead.
Step 1: Import Your Audio
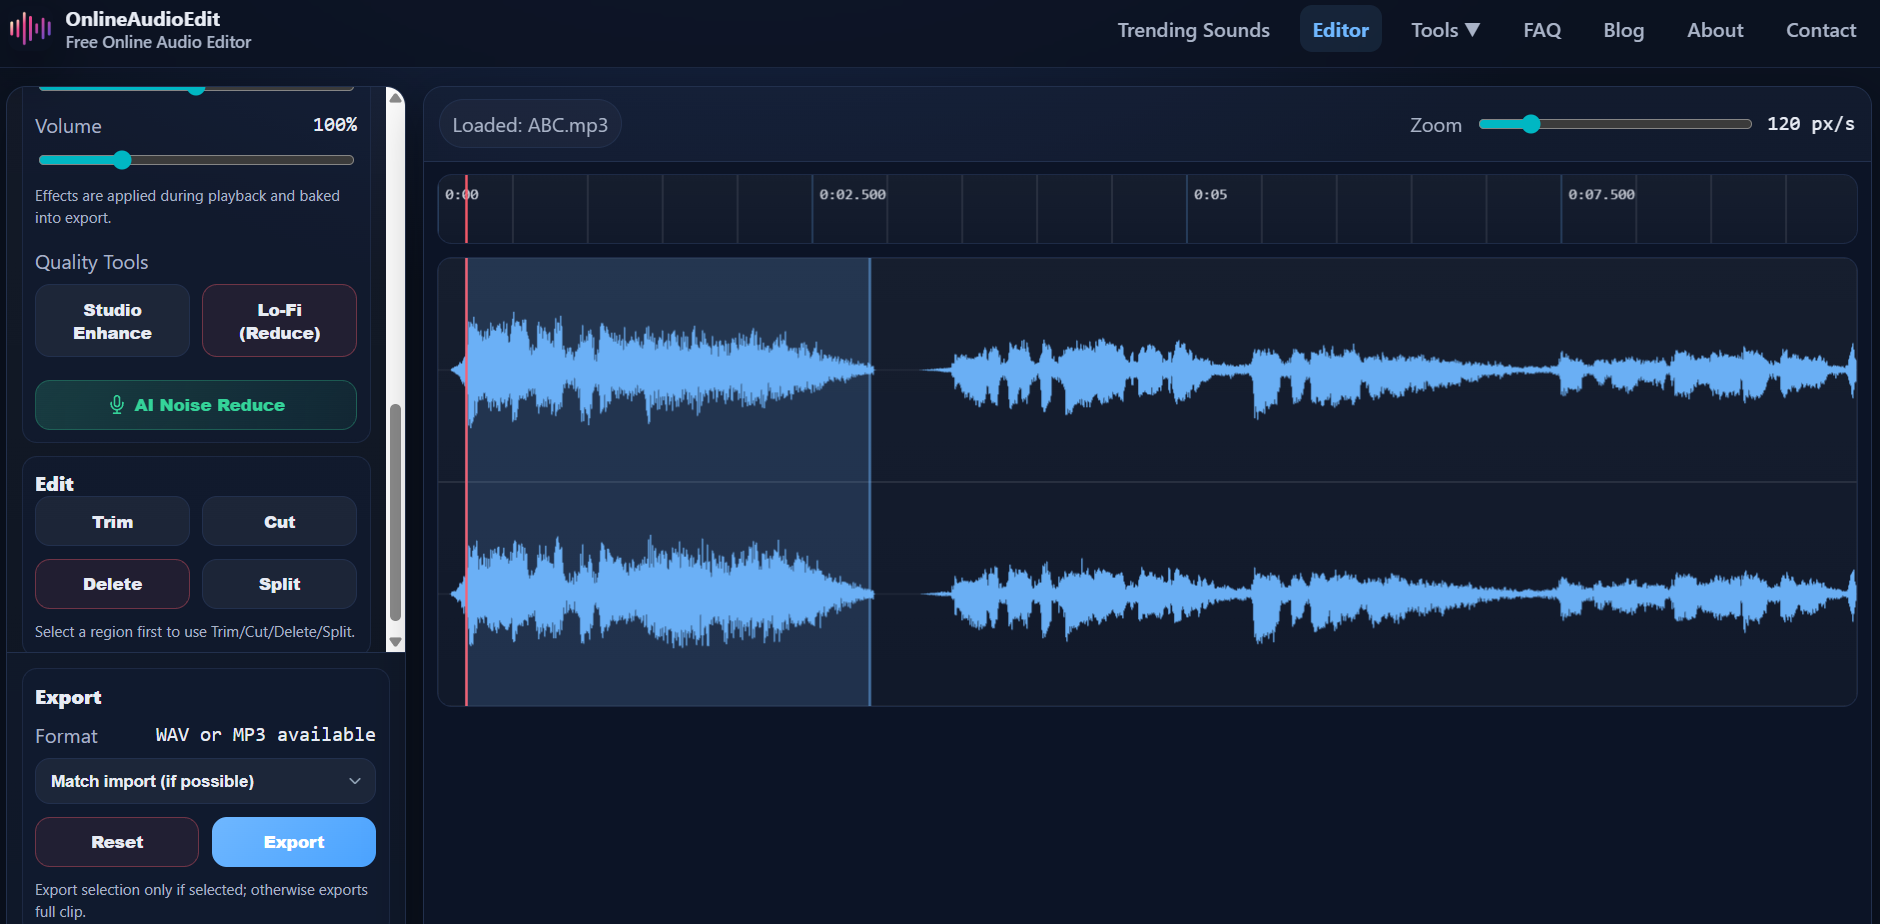
Open the OnlineAudioEdit editor and import your file by dragging and dropping it onto the waveform area, or by clicking the Import button. The editor supports MP3, WAV, M4A, AAC, OGG, FLAC, and many more formats.
Your audio will appear as a visual waveform. Take a moment to scan it — long flat sections usually indicate silence, and small irregular bumps in otherwise quiet areas often indicate background noise, mouth clicks, or unwanted sounds.
Step 2: Find the Section You Want to Remove
Press Play and listen through your recording. When you hear something you want to remove, note the approximate time. Then use the zoom slider in the toolbar to zoom in closer to that area of the waveform.
Zooming in is important because it allows you to see the exact boundaries of the unwanted section. At higher zoom levels (200-600 px/s), you can distinguish individual words, breaths, and pauses with pixel-level precision.
Step 3: Select the Unwanted Section
Click and drag your mouse across the waveform to highlight the section you want to remove. The selection is shown as a highlighted region, and the exact duration appears in the "Sel" indicator in the sidebar.
Pro Tip: When cutting speech, try to make your selection start and end during natural pauses or breaths — not in the middle of a word. This makes the edit sound seamless and natural to listeners. If you cut too tightly, the result can sound jarring or "jumpy."
Step 4: Click Cut
With your selection active, click the Cut button in the Edit panel. The selected section is instantly removed, and the audio before and after the cut point is joined together seamlessly. Your waveform updates to reflect the change.
Want to remove multiple sections? Simply repeat the process — find the next unwanted part, select it, and click Cut again. You can make as many cuts as you need.
Step 5: Review and Export
After making your cuts, press Play to listen through the edited recording. Make sure the cuts sound natural and the conversation flows properly. If something doesn't sound right, click Reset to restore the original audio and start over.
When you're satisfied, click Export to download your cleaned-up file as WAV or MP3.
Common Use Cases for Cutting
- Podcast editing: Remove "ums," "ahs," long pauses, tangents, and interruptions to keep your episode tight and engaging.
- Interview cleanup: Cut out off-topic sections, technical difficulties, or segments where the interviewee asked to go off the record.
- Voiceover correction: Remove flubbed takes or repeated lines from a voiceover recording without re-recording the entire session.
- Music editing: Remove an unwanted intro, a long silence between tracks, or specific sections of a song.
- Meeting recordings: Cut out small talk at the beginning and end to keep only the substantive discussion.
Cut vs. Delete — What's the Difference?
In OnlineAudioEdit, Cut and Delete work the same way — both remove the selected region and join the remaining audio. The Delete button exists as a semantic alternative for workflows where you're focused on removing unwanted noise rather than editing a conversation.
Tips for Clean Cuts
- Zoom in before cutting to see the exact boundaries of the section you want to remove.
- Use natural pauses as cut points — between sentences, during breaths, or at the end of a thought.
- Listen back after each cut to make sure the edit sounds smooth.
- Don't over-cut. Removing every single "um" can make speech sound robotic. Leave some natural speech patterns in.
- If your recording has background noise, consider using AI Noise Reduction before making cuts — it makes it much easier to see the waveform clearly.
Ready to clean up your audio? Open the OnlineAudioEdit editor and start cutting — your listeners will thank you.