You’ve done the hard work. You’ve finished recording your song, edited your podcast episode, or trimmed that perfect sound effect. The audio sounds great. But before you upload it to the web or share it with a client, there’s one final, crucial step: **Tagging your metadata**.
Proper metadata (often called ID3 tags in MP3 files) is what tells a music player or smartphone exactly what it is playing. It’s the difference between your track showing up as "Unknown Artist - Track01" with a generic gray music note icon, or proudly displaying your name, your track title, and your custom cover art.
If you aren't sure why this matters, check out our explainer on what audio metadata actually is. If you're ready to get your files organized, here is a step-by-step guide on how to edit MP3 tags and embed album artwork in seconds using our free online tool.
Step 1: Import Your Audio File
You don't need to download any bulky software like iTunes or dedicated tagging programs. Just go to the OnlineAudioEdit editor and drag your audio track directly into the browser window.
Because our tool processes audio locally in your browser, your file will load instantly, regardless of its size. We support MP3, WAV, M4A, and most other standard formats.
Step 2: Access the Metadata Editor
Once your audio is loaded and the waveform is visible on the screen, look at the sidebar panel on the left under the **Clips** section. You will see a button labeled **"View Audio Metadata"**. Click it.
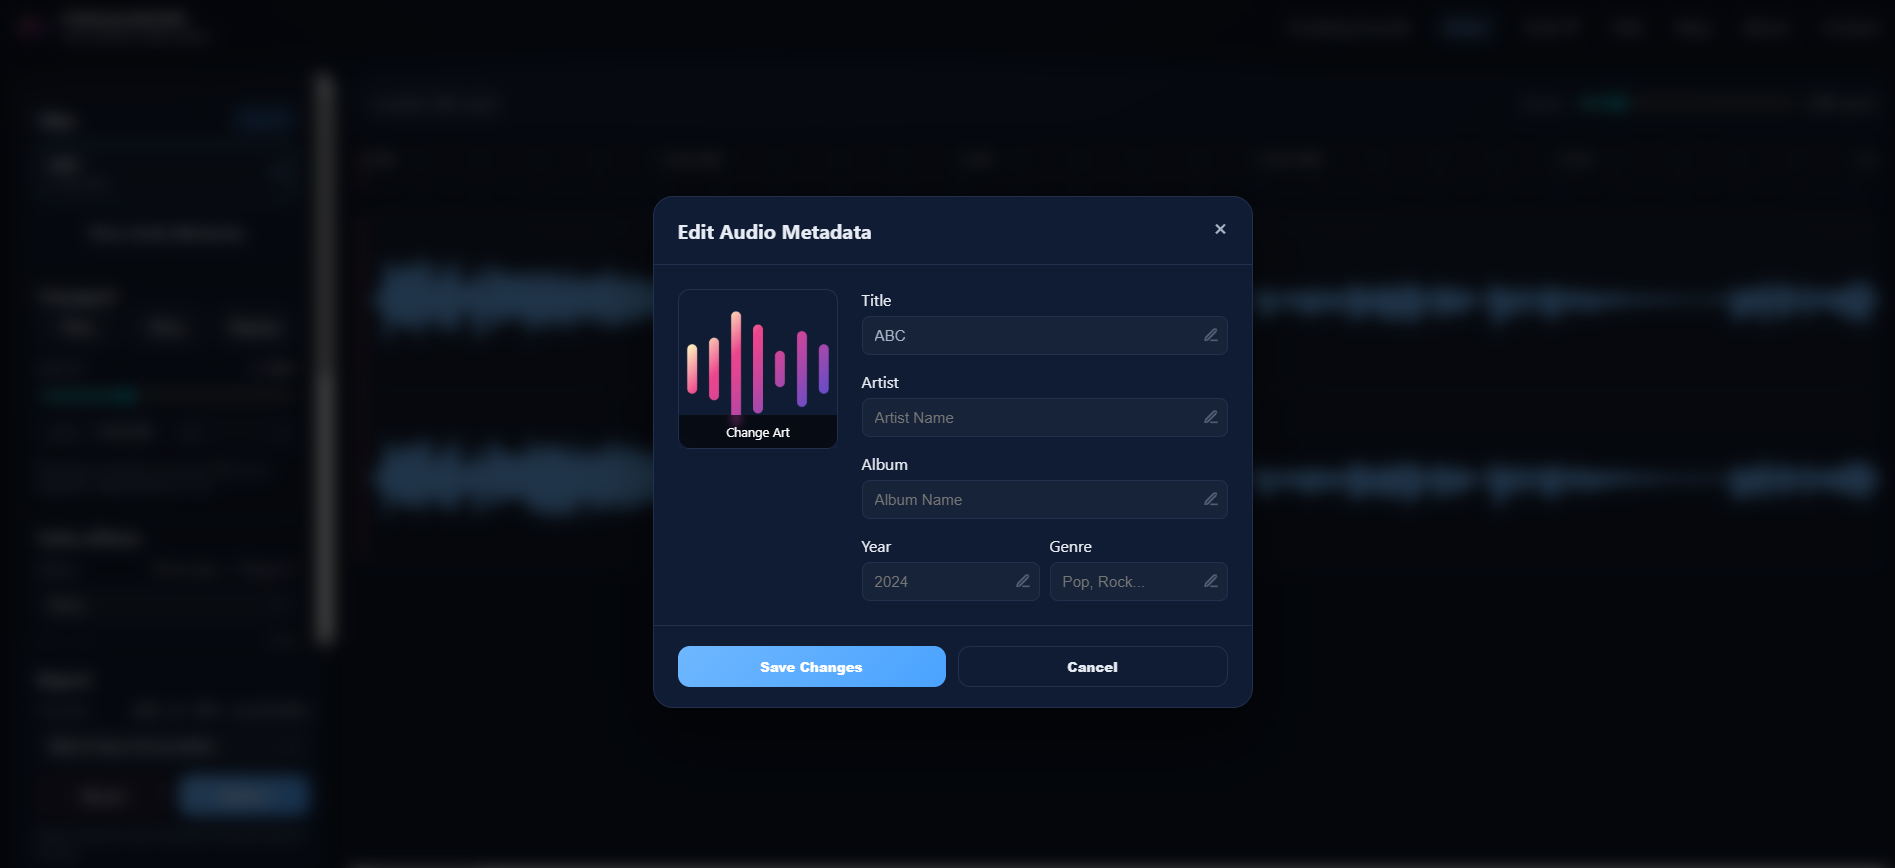
A sleek popup will appear. This modal reads the existing ID3 tags hidden inside your file and displays them. If your file is brand new or came from a basic voice recorder, many of these fields might be empty or filled with placeholder text.
To edit any field—such as the **Title**, **Artist**, or **Album**—simply click the small **Pen Icon** next to the text. This unlocks the text box, allowing you to type in your new data. Press Enter or click the green checkmark to confirm your text.
Podcast SEO Tip: If you are tagging a podcast, consistency is key. Ensure your "Album" field always contains your exact show name, and your "Artist" field contains the host's name or your network. Consistent tags help podcast directories index your files accurately if listeners download them.
Step 3: Update Your Album Art
Text is great, but visuals are what truly make a file look professional. On the left side of the metadata popup, you'll see a preview of your existing album artwork (if it has any). If it doesn't, you'll see a placeholder image.
To embed your own custom image into the audio file, click the **"Change Art"** button located at the bottom of the image box. A file browser will open, allowing you to select a new image from your computer.
Image Best Practices:
- Use a square image (a 1:1 aspect ratio).
- JPG or PNG formats work best.
- Keep the image file size reasonable (under 1MB). Extremely large images can bloat the final size of your MP3 file, as the image data has to be stored inside the audio file itself.
- A resolution of 1400x1400 pixels is considered the standard for podcast directories like Apple Podcasts.
Step 4: Save and Export
When you have filled out all the necessary text fields and embedded your gorgeous new cover art, click the **"Save Changes"** button at the bottom of the modal. This saves your metadata to the editor's active memory.
Finally, to create your finalized file, go down to the **Export** section in the sidebar. Select **MP3** as your format and click the Export button. Our tool will process the audio and automatically "bake" your new ID3 tags and artwork directly into the final downloaded file.
(Note: While WAV files technically support some metadata, MP3 is the universal standard for ID3 tags and embedded artwork. For the widest compatibility, always export tagged files as MP3).
Why Use OnlineAudioEdit for Tagging?
Historically, robust metadata editors were desktop applications that felt like Microsoft Excel spreadsheets. They were powerful but incredibly tedious to use for just one or two files. With OnlineAudioEdit, you get a clean, modern, visual experience that works instantly on any device—Windows, Mac, or Chromebook—without account registration, server uploads, or software downloads.
Ready to make your audio files look as good as they sound? Head to the Editor now and start tagging!