You just finished recording an incredible interview. The content is gold, the guests were amazing, but when you press play to listen back, the audio sounds a little... rough. Maybe there are too many "ums" and "ahs," a long silence where someone lost their train of thought, or just a constant hum from the air conditioning unit that was running in the background.
The difference between an amateur podcast and a professional one often isn't the microphone or the content — it's the editing. Follow this complete checklist to transform your raw recording into polished, broadcast-ready audio using just your web browser.
Before You Start: The Quick Visual Scan
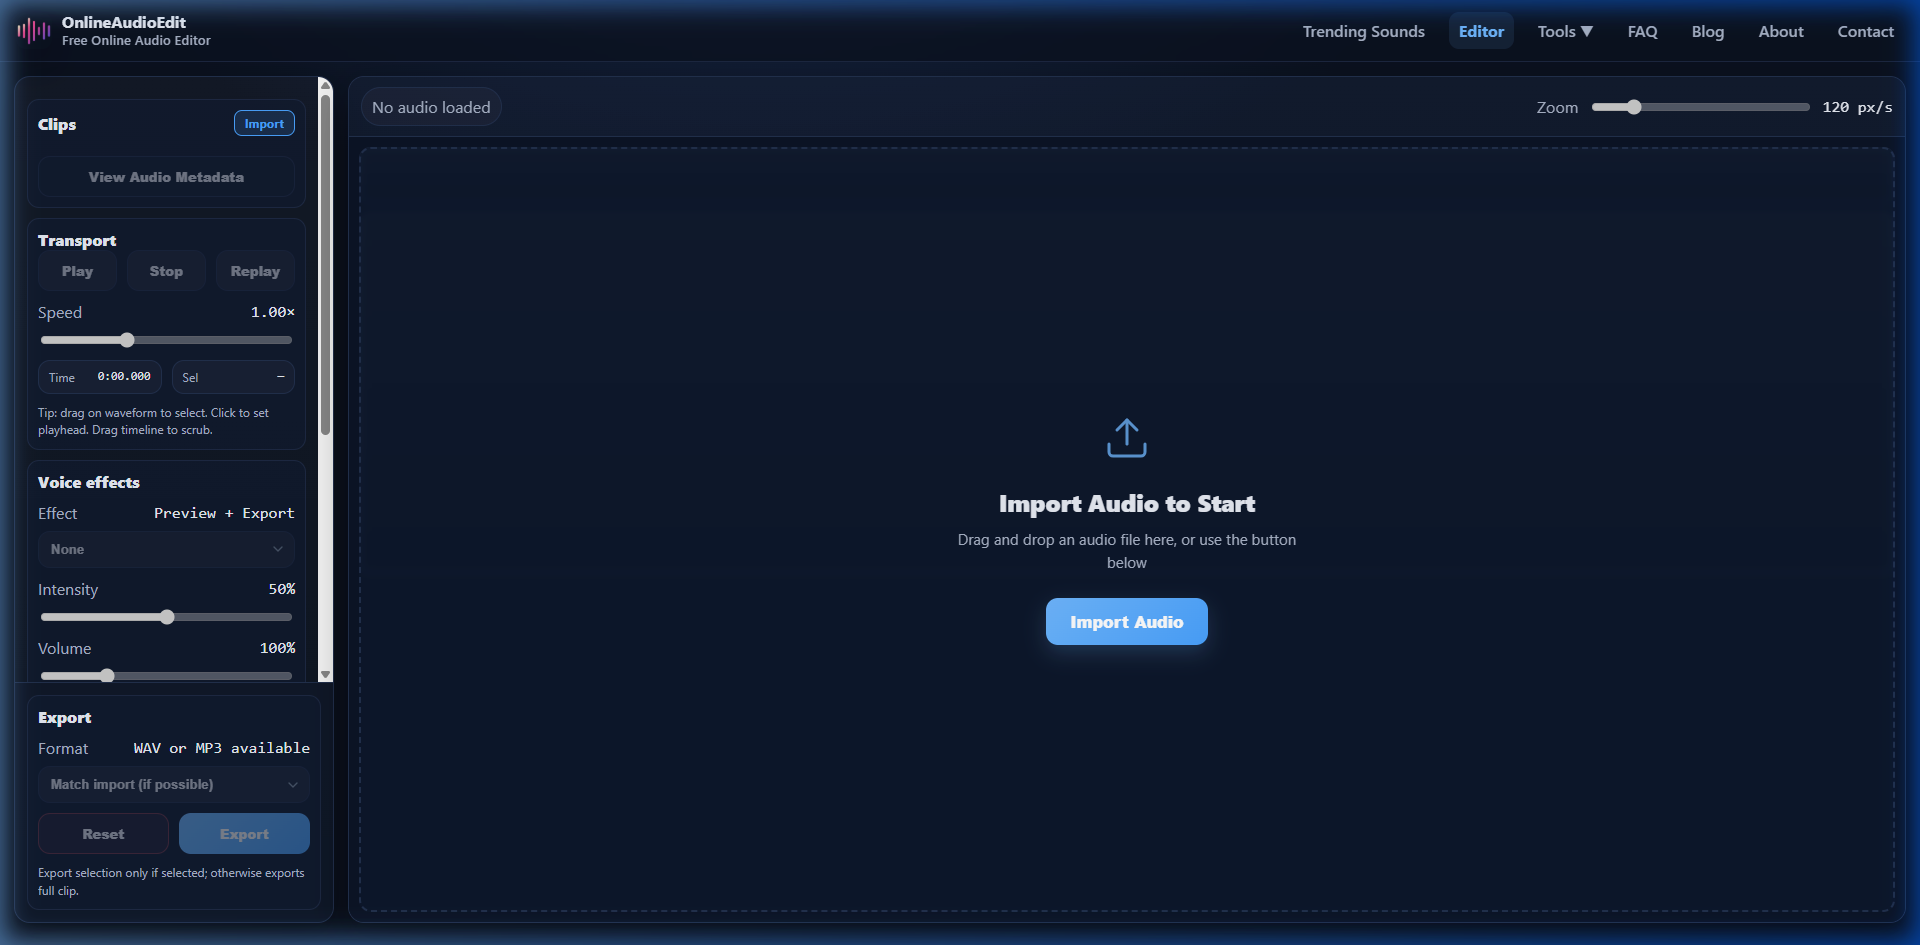
Import your recording into the OnlineAudioEdit editor by dragging it onto the waveform area. Before touching anything, take a moment to visually scan the entire waveform. Here's what to look for:
- Long flat lines: Extended silences — these are your first targets for cleanup.
- Big, jagged spikes: Loud sounds like mic pops, laughs, or someone accidentally bumping the table. These might need volume reduction or removal.
- Consistent low-level noise: The thin, steady line of background noise underneath everything. This is what AI Noise Reduction is built to handle.
- Uneven peak heights: If one speaker is much louder than the other, you'll see large peaks on one side and smaller ones on the other.
Step 1: Trim the Intro and Outro
Almost every raw recording starts with a few seconds of "Is this thing on?" chatter, mic adjustments, or dead air. Similarly, recordings usually end with a prolonged silence or off-topic conversation after the main content wraps up.
Select the dead air at the beginning by clicking and dragging on the waveform, then use Cut to remove it. Do the same for the end of the recording. This immediately makes your episode feel more professional — listeners should hear content from the very first second.
Step 2: Remove Background Noise
If your recording has a constant background hum, hiss, or buzz (from an air conditioner, fan, electrical interference, or room tone), now is the time to clean it up. Click the AI Noise Reduce button in the Quality Tools section.
For the best results, find a section of your recording where only the background noise is present (no one is talking), select that region on the waveform, and choose "Use current selection" as the noise source. Set the reduction strength to around 40-60% — enough to eliminate the noise without making voices sound hollow or processed.
Read our detailed AI Noise Reduction guide for advanced tips.
Step 3: The Precision Snip — Remove Mistakes
Now listen through your recording again from the beginning. Every time you hear a mistake, an "um," a long awkward pause, or a tangent that goes nowhere, zoom in on the waveform, select just that section, and click Cut.
A few guidelines for natural-sounding edits:
- Cut at natural pauses — between sentences or during breaths, not in the middle of words.
- Don't remove every single "um" — a few natural speech patterns keep the conversation feeling authentic.
- Leave a tiny beat of silence (0.1-0.3 seconds) between sentences after cutting. Dead silence with zero gap sounds unnatural.
- If a guest corrected themselves ("I mean... wait, let me start over..."), remove the false start and keep the corrected version.
Step 4: Balance the Volume
Uneven volume is one of the most common complaints listeners have about podcasts. If one guest is significantly louder than the other, or if the volume fluctuates dramatically throughout the episode, listeners constantly reach for their volume knob — and that's a bad sign.
Use the Volume slider to boost quiet sections (up to 400%) or reduce loud ones. For a quicker solution, click Studio Enhance — it applies dynamics compression that automatically evens out volume differences, adds clarity to voices with a high-frequency boost, and normalizes the overall level to a broadcast-standard loudness.
Step 5: The Silence Sweep
In natural conversation, there are often long pauses that feel fine face-to-face but become awkward in an audio-only format. Listen through your edited episode and tighten up any pauses that feel too long. You don't need to eliminate all silence — just trim down pauses that are longer than about 2-3 seconds to keep the energy and pacing consistent.
Step 6: The Final Quality Check
Before exporting, do one final listen-through — ideally on headphones. Ask yourself:
- Does the conversation flow naturally without any jarring jumps?
- Is the volume consistent throughout — no sudden spikes or drops?
- Is the background noise level acceptable?
- Does the intro and outro sound clean and professional?
- Are there any remaining mouth clicks, pops, or artifacts that stand out?
Step 7: Export with Metadata
Click the View Audio Metadata button and fill in the title, artist (your podcast name), album (season/series name), year, and genre. If you have podcast artwork, upload it as the album art. This metadata gets embedded directly into the file and appears in podcast players, music apps, and media libraries.
Export as MP3 — it's the standard format for podcast distribution. Most hosting platforms recommend 192 kbps or 256 kbps as the sweet spot between quality and file size. If you want to keep an archival copy, export a WAV version too.
Quick Reference Checklist
- ☐ Import raw recording and visually scan the waveform
- ☐ Trim dead air from the intro and outro
- ☐ Apply AI Noise Reduction for background noise
- ☐ Cut mistakes, "ums," tangents, and false starts
- ☐ Balance volume levels with Volume slider or Studio Enhance
- ☐ Tighten up long pauses and dead air
- ☐ Final listen-through on headphones
- ☐ Add metadata (title, artist, album art)
- ☐ Export as MP3 at 192-256 kbps
Podcast success is 50% content and 50% quality. Get your quality right on the OnlineAudioEdit editor — your listeners will notice the difference.