Sometimes you need to break a long recording into smaller, manageable pieces. Maybe you recorded an hour-long interview and need to divide it into individual questions. Maybe you have a continuous album recording and want to separate it into individual tracks. Or maybe you just want to isolate a few key moments from a long file.
That's exactly what the Split tool is for. In this guide, we'll walk you through how to split any audio file into separate clips using OnlineAudioEdit — completely free, right in your browser.
What Does "Splitting" Audio Mean?
When you split an audio file, you divide it into two separate clips at a specific point (or at the boundaries of a selection). Unlike trimming or cutting, splitting doesn't remove any audio — it creates multiple independent clips from one file, and both parts are preserved.
Think of it like tearing a page from a notebook. You now have two pieces — the page you removed and the rest of the notebook. Both still exist, and you can work with each one separately.
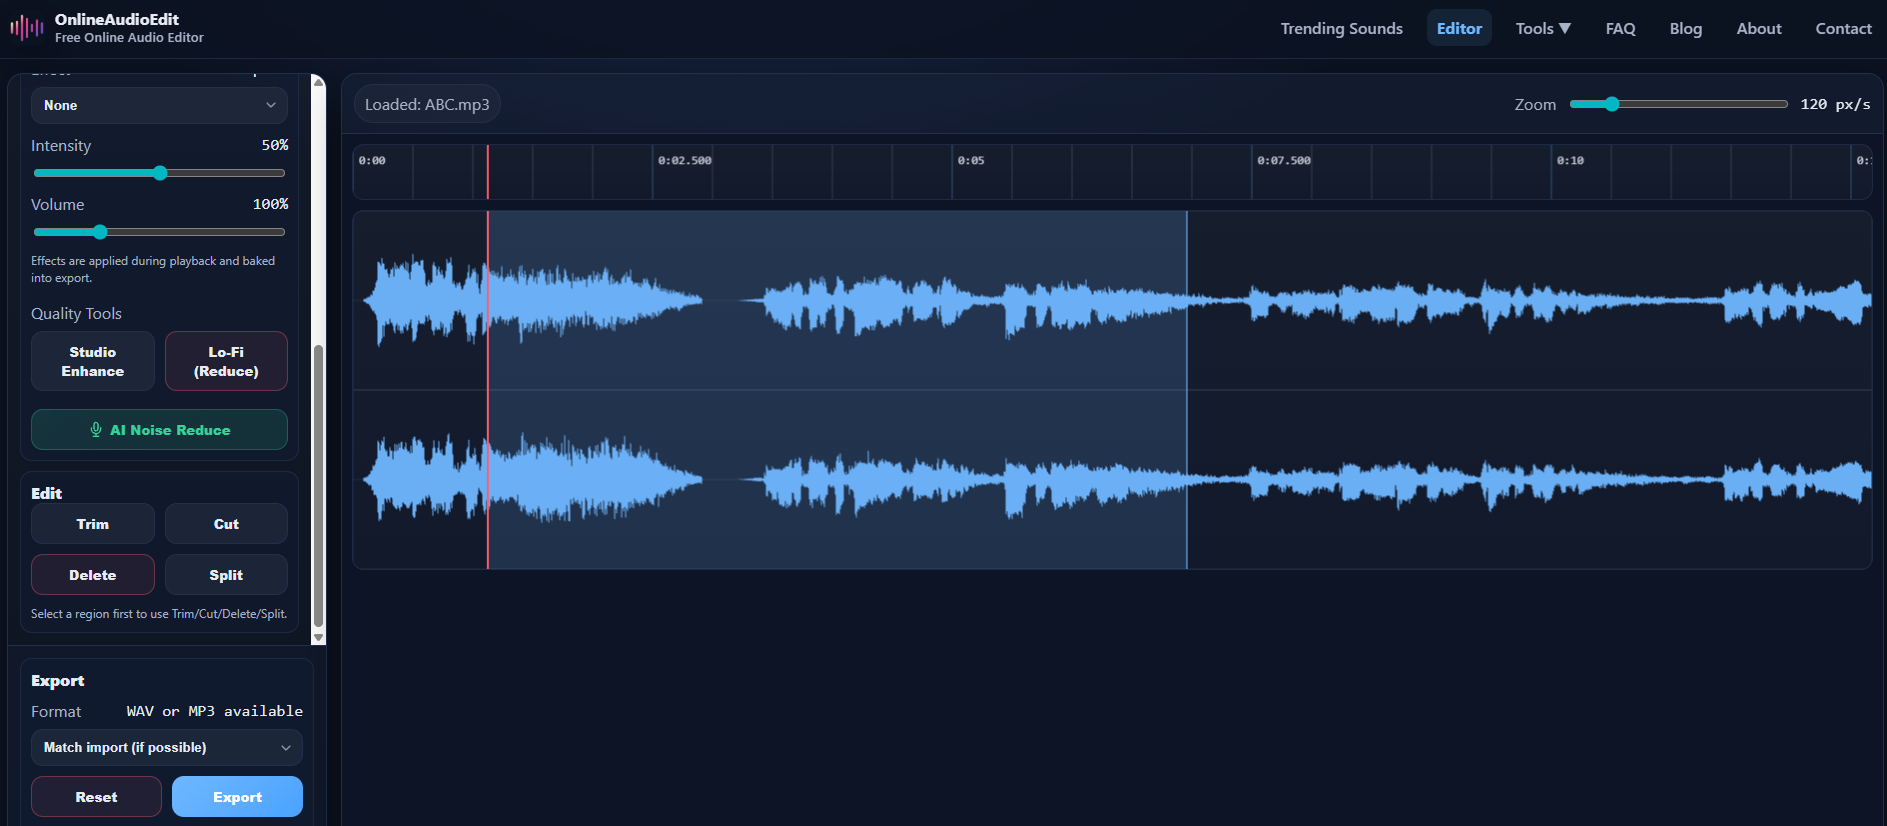
Step 1: Import Your Audio File
Open the OnlineAudioEdit editor and import your file. Drag and drop it directly onto the waveform area, or click the Import button in the sidebar. The editor supports MP3, WAV, M4A, AAC, OGG, FLAC, WEBM, AIFF, and more.
Once imported, your full-length audio appears as a visual waveform in the workspace.
Step 2: Find the Split Point
Listen through your recording to find the exact moment where you want to divide it. Use the Play button and watch the playhead move across the waveform as the audio plays. Take note of where natural transitions occur — between topics in a podcast, between songs in a continuous recording, or between speakers in an interview.
Use the zoom slider to zoom in closer to the waveform for precision. At high zoom levels, you can identify the exact silence or transition point between sections.
Step 3: Make a Selection at the Split Point
Click and drag on the waveform to create a selection region around the point where you want to split. The split happens at the boundaries of your selection, creating two separate clips: everything before your selection, and everything after it.
Pro Tip: If you select a region that includes some audio (like a period of silence between two topics), that selected audio will form the boundary of the split. For the cleanest results, select a small region of silence between the two sections you want to separate.
Step 4: Click Split
With your selection active, click the Split button in the Edit panel. Your single clip is now divided into two (or more) separate clips. You'll see them listed in the Clips panel in the sidebar, each with its own name and duration.
Click on any clip in the Clips panel to select it and work with it independently — you can play it, apply effects, trim it further, or export it separately.
Step 5: Export Each Clip
Select the clip you want to export by clicking it in the Clips panel, then click Export. Choose WAV or MP3 format and download. Repeat for each clip you need.
If you only need one specific clip from the split, you don't have to export all of them — just select and export the one you want.
Common Use Cases for Splitting
- Interview segments: Split a long interview into individual questions and answers for easier editing and distribution.
- Podcast chapters: Divide a multi-topic episode into separate segments that can be shared individually on social media.
- Album tracks: If you recorded an entire set or album as a single continuous file, split it into individual songs.
- Lecture notes: Break a long class recording into topic-specific sections for easier review and sharing.
- Audio transcription: Split long recordings into shorter segments that are easier to transcribe manually or with automated tools.
- Sound design: Isolate specific sound effects, phrases, or musical passages from a longer source recording.
Split vs. Trim vs. Cut — When to Use Each
These three editing operations serve different purposes:
- Split: Divides audio into separate clips without removing anything. Use when you want to keep everything but organized into parts.
- Trim: Keeps only the selected region, removes everything else. Use when you want to extract one specific clip.
- Cut: Removes the selected region and joins the rest. Use when you want to remove mistakes or unwanted sections.
Tips for Better Splits
- Zoom in to at least 200 px/s before splitting to ensure your split point is precise.
- Split at silences — natural pauses between sections make the cleanest split points.
- After splitting, use Trim on individual clips to clean up any extra silence at the beginning or end.
- Consider applying AI Noise Reduction before splitting if your recording has background noise — it will make the waveform cleaner and split points easier to identify.
Ready to split your audio? Open the OnlineAudioEdit editor and start breaking your recordings into organized, manageable clips.